Musterprozess
Vom Design zum physischen Muster: Der vollständige Resin-Figur-Musterprozess
13. August 2026 · Resin Factory
Hinweis: Artikel werden in englischer Sprache veröffentlicht. Andere Seiten sind in Ihrer Sprache verfügbar.
From design to physical sample: the complete resin figurine sampling process. 11 steps, 2 key approval milestones, 12-15 days.
Every figurine project starts with a design. But what happens between the design and the physical sample? Many clients ask us: 'Can you make exactly what I want?' The answer is: through a strict sampling process with two key approval milestones, we ensure the final sample meets your expectations.
In this article, we break down every step of the figurine sampling process.
## Sampling Process Overview
Requirement Discussion → Price Negotiation → 3D Sculpting → [Approval Milestone ①] → 3D Printing → Sanding → Silicone Mold Making → Casting → Hand Painting → [Approval Milestone ②] → Drying → Sample Complete
Total sampling cycle: 12-15 days
## Step 1: Requirement Discussion (Day 1)
The process starts with a conversation. You send us your design, and we discuss:
• Product size: 10cm or 30cm? • Purpose: retail, corporate gifts, or promotional items? • Safety certifications needed: CE, EN71, or ASTM? • Order quantity: 100 pieces for testing or 10,000 for mass production?
At this stage, we recommend providing as much reference information as possible: design files, three-view drawings, color references, or even photos of similar products. The more complete the information, the lower the communication cost later.
## Step 2: Price Negotiation (Day 1-2)
After understanding your requirements, we provide a detailed quote within 24 hours, including:
• 3D Sculpting Fee (one-time fee) • Physical Sample Development Fee (refundable on bulk order) • Unit Price (based on order quantity) • DDP Shipping Cost (including freight and customs duties) • Estimated Delivery Time
Once you accept the quote and pay the sampling fee, we officially enter the sampling phase.
## Step 3: 3D Digital Sculpting (Day 3-7)
Our head sculptor opens ZBrush and creates a 3D model from your concept art. The sculptor considers not just 'does it look good'—he's planning:
• Where to split parts to avoid seam lines on the face? • Where to thicken to prevent breakage during shipping? • Where to leave grooves so the painter won't curse?
⚠️ This stage allows adjustments: If you feel the shape is wrong, proportions are off, or details are insufficient, you can request modifications. Changing the 3D model takes only minutes and costs very little.
## [Milestone ①] 3D Effect Approval (Day 7)
We send you 360° rotating renders showing every angle. This is the first key approval point. You need to carefully check:
• Does the shape match the design? • Are the proportions correct? • Are the details in place? • Are you satisfied with the color scheme?
After approval, we move to 3D printing. Important note: You can adjust both shape and color during the 3D stage. Once we enter 3D printing, the shape cannot be changed. Please confirm all details at this stage.
## Step 4: 3D Printing (Day 8-9)
After 3D sculpting approval, we print on industrial DLP printers at 0.05mm layer resolution.
About printing materials: The industry typically offers two options—
• White wax: Cheap, but has many water marks and rough surface • Red wax: Expensive, but high print quality with smooth, fine surface
Unless the client has a very low budget, we generally use red wax. Red wax produces higher quality prototypes with less sanding work required, resulting in better mold precision. This is money well spent.
## Step 5: Sanding the 3D Print (Day 9-10)
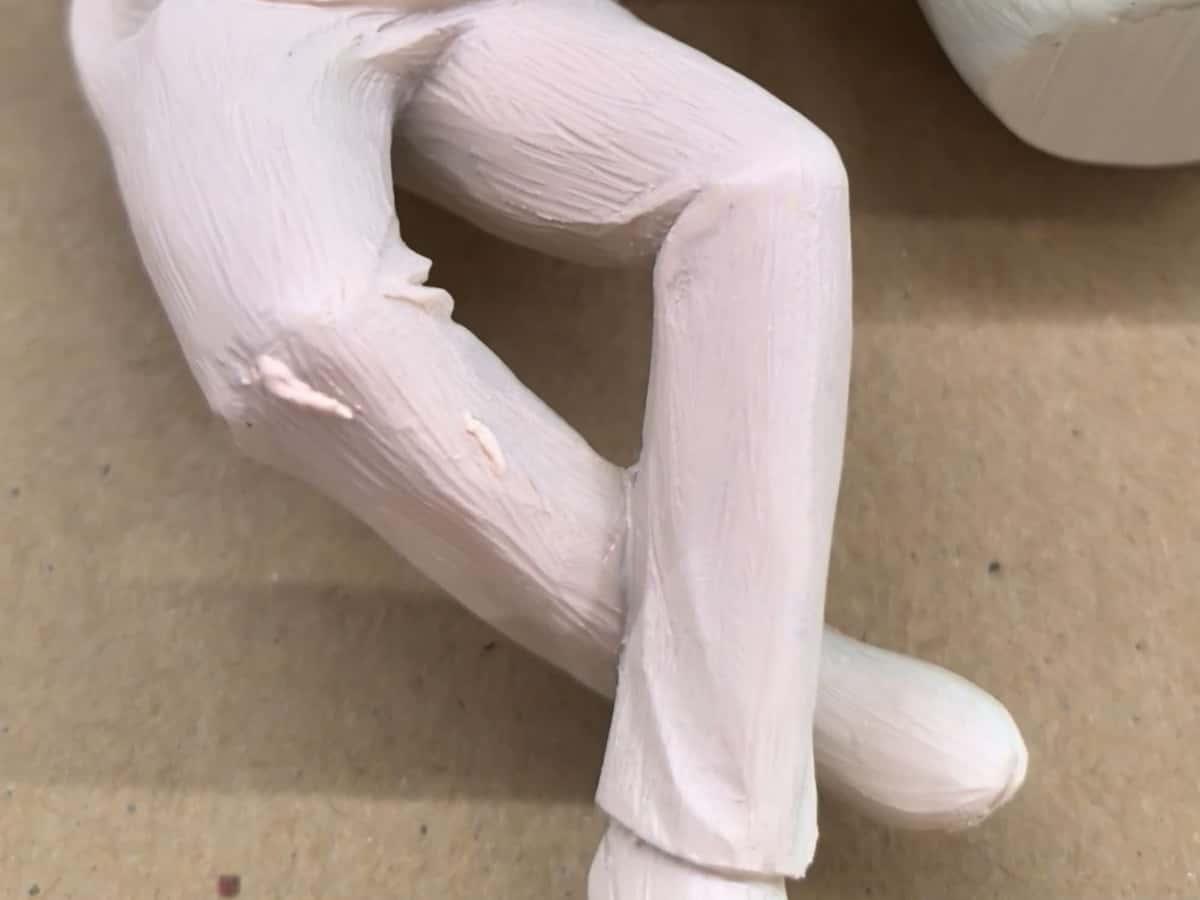
Red wax prints have fewer water marks than white wax, but still need work. Our craftsmen hand-sand the surface until it's smooth as silk. This step determines the final product's feel and texture.
## Step 6: Silicone Mold Making (Day 10-11)
We create high-quality silicone molds from the sanded 3D print. Mold design is a craft—good mold design hides seam lines under collars, behind hair, or in natural shadow areas, making them nearly invisible to the naked eye.
## Step 7: Casting (Day 11-12)
Our craftsmen hand-pour liquid polystone material into the molds. Each product is individually cast—one hand holds the mold, the other pours the resin, while gently shaking to eliminate air bubbles.
Polystone material characteristics: • Weight: ~2.2 g/cm³ (twice as heavy as regular PU resin) • Feel: Cold, like ceramic or marble • Texture: Museum-grade collector quality • Detail: Can capture details down to 0.5mm
Polystone is the preferred material for collector-grade figurines, suitable for retail products priced at $149+.
## Step 8: Hand Painting (Day 12-14)
This is where the magic happens. Our painters use a combination of techniques:
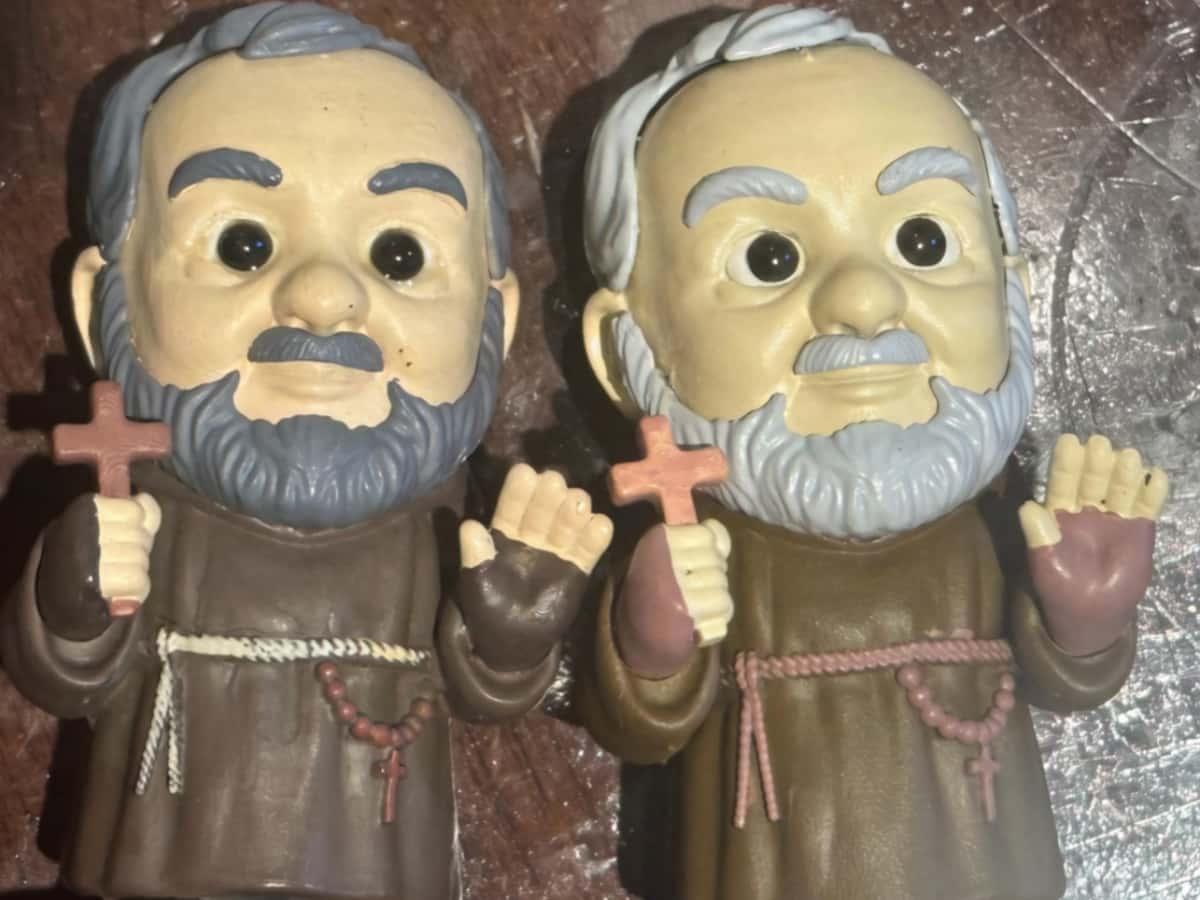
• Airbrush: Base coats, skin tones, gradients, ambient shadows • Hand brushes: Eyes, lips, costume details, accessories • Washes: Shadow recesses for depth • Sealants: Matte or satin finish
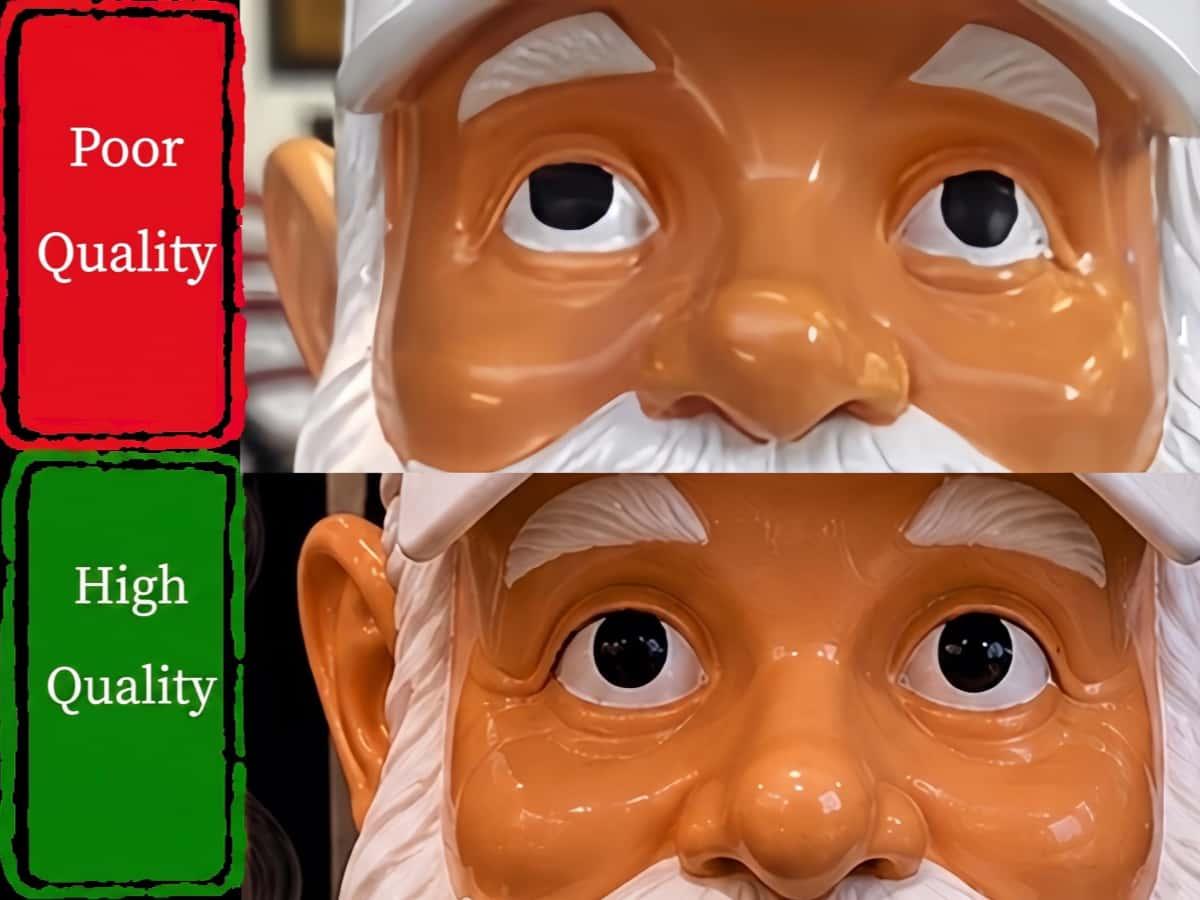
Painting eyes is the most challenging part. For 8-15cm small products, the eyes are only a few millimeters wide, but our painters can use a 0.5mm brush to paint pupils, irises, and even highlight points. This is why our figurines look 'alive'—because the eyes have soul.
## [Milestone ②] Painting Effect Approval (Day 14)
We send you photos and videos of the painted sample. This is the second key approval point. You need to check:
• Does the color match expectations? • Are the painting details in place? • Are you satisfied with the overall effect?
Important note: At this stage, you can only adjust colors, not the shape. That's why you should finalize the shape during the 3D approval stage.
## Step 9: Drying and Completion (Day 15)
After confirmation, the sample enters the drying phase. Once dried, the sample is ready to ship to you.
## Communication: WhatsApp vs Email
During sampling, close communication between client and supplier is essential. We recommend:
Recommended: WhatsApp • Real-time communication, fast response • Can send photos and videos directly • Suitable for quick detail confirmations
Also acceptable: Email • Suitable for formal confirmations and documentation • But requires frequent back-and-forth, longer communication cycles
Whichever method we use, our goal is to ensure every stage meets your expectations and avoid rework.
## Case Study: From Design to Physical Product
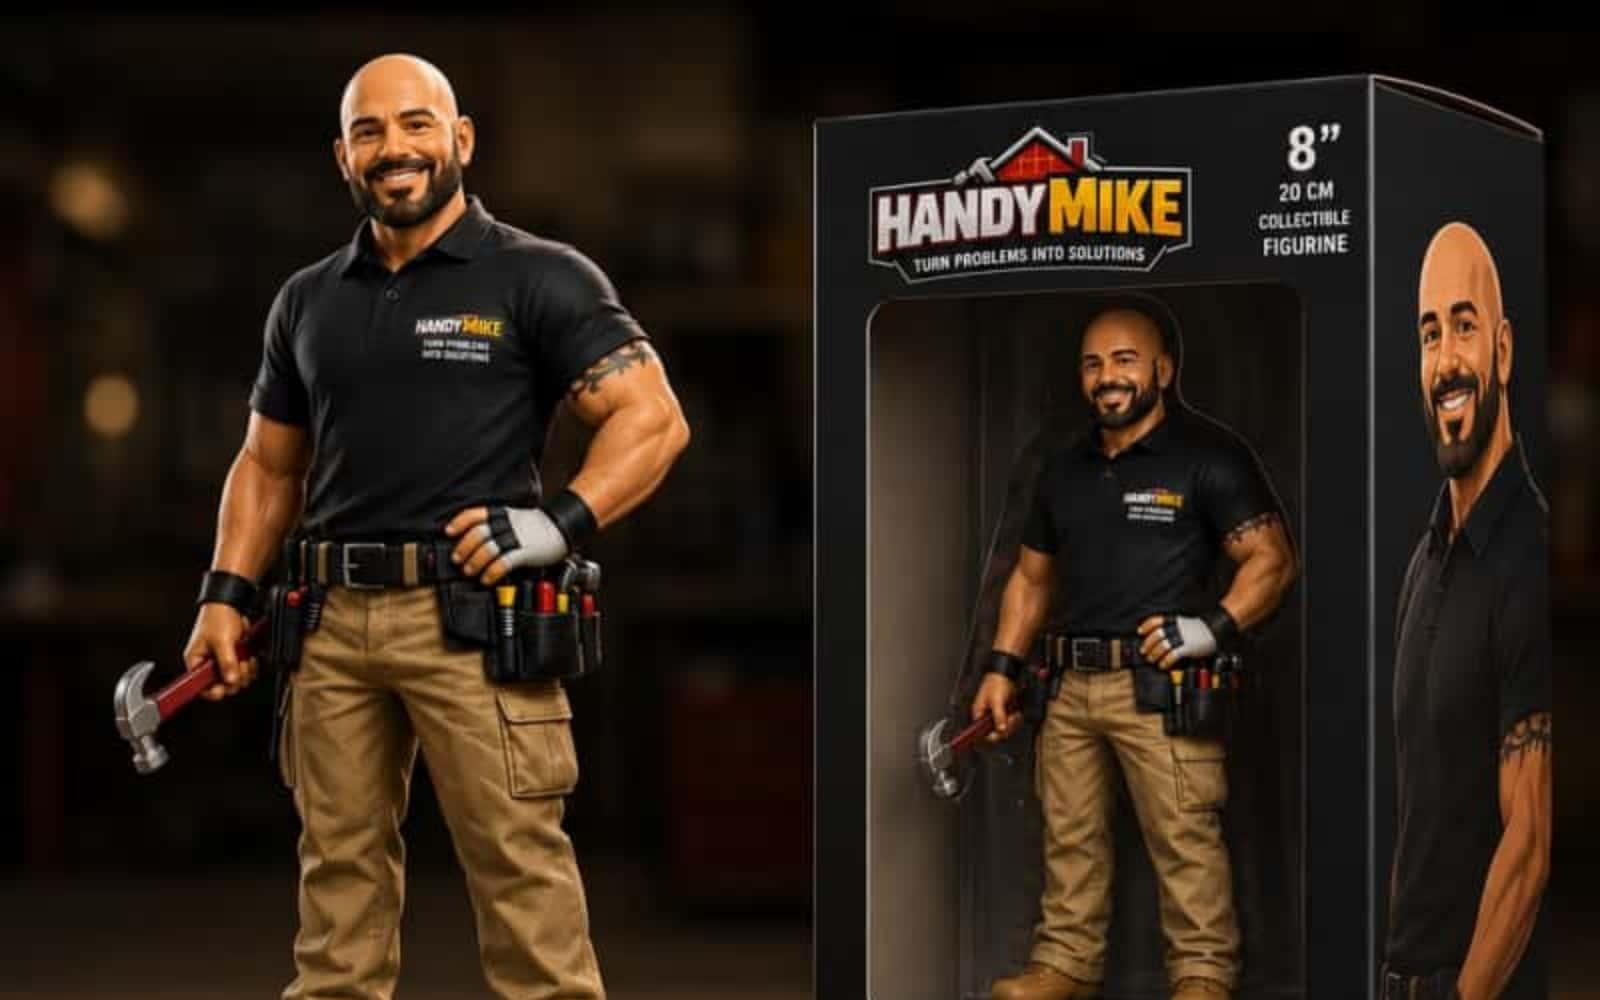
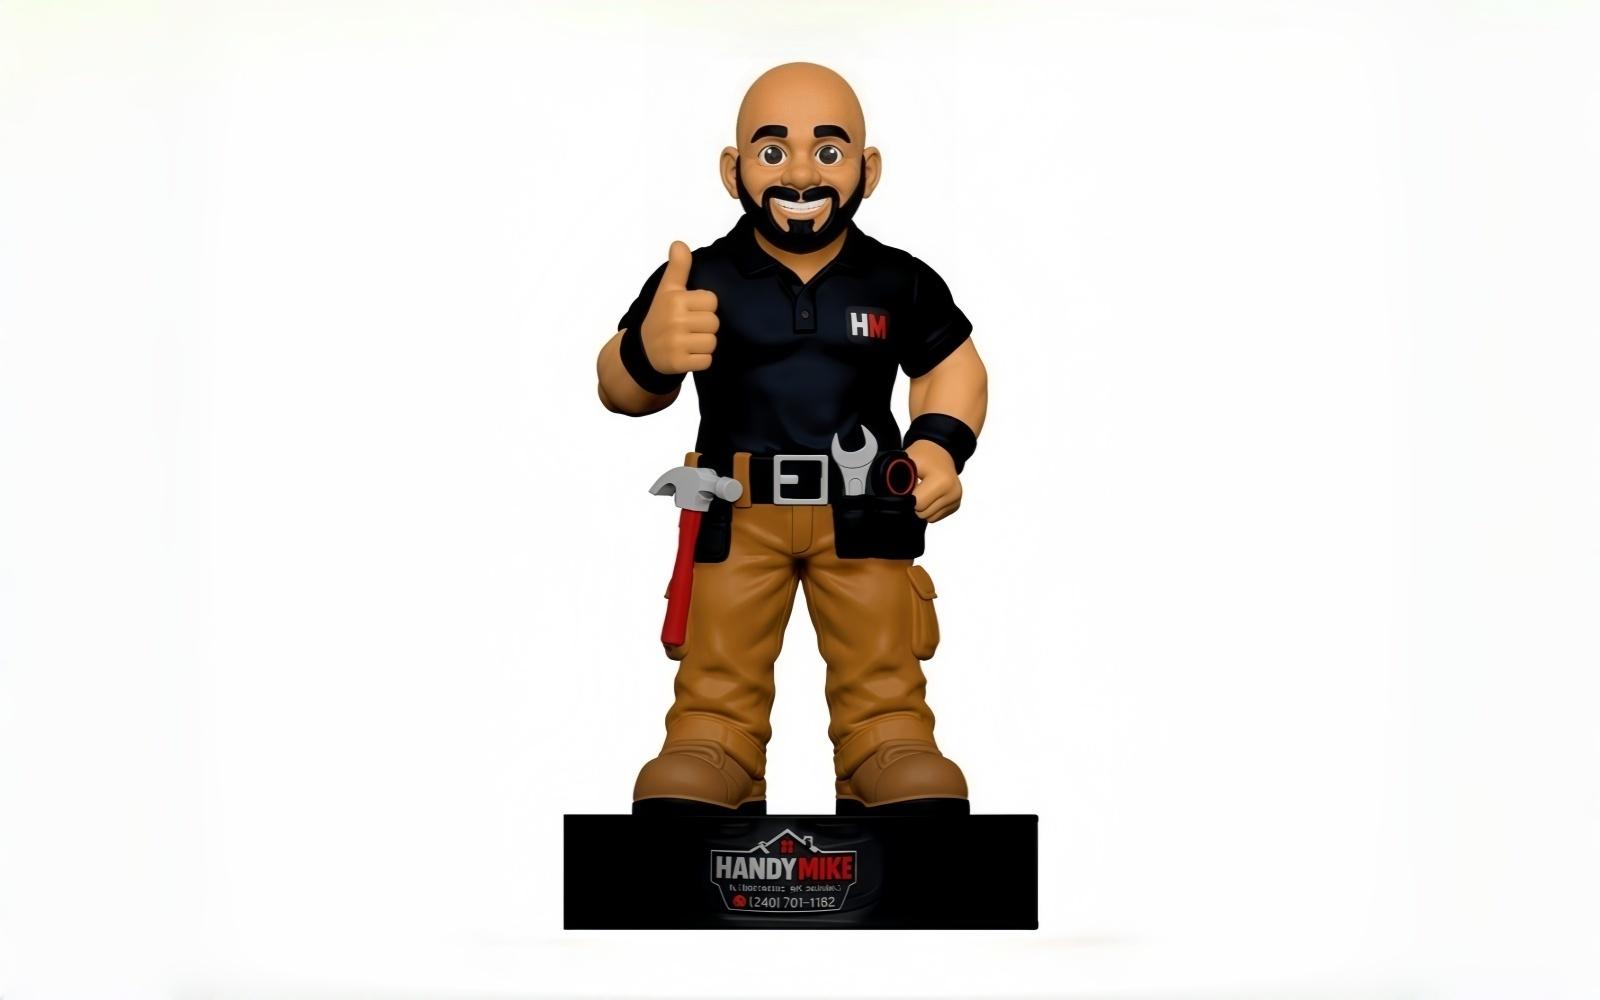
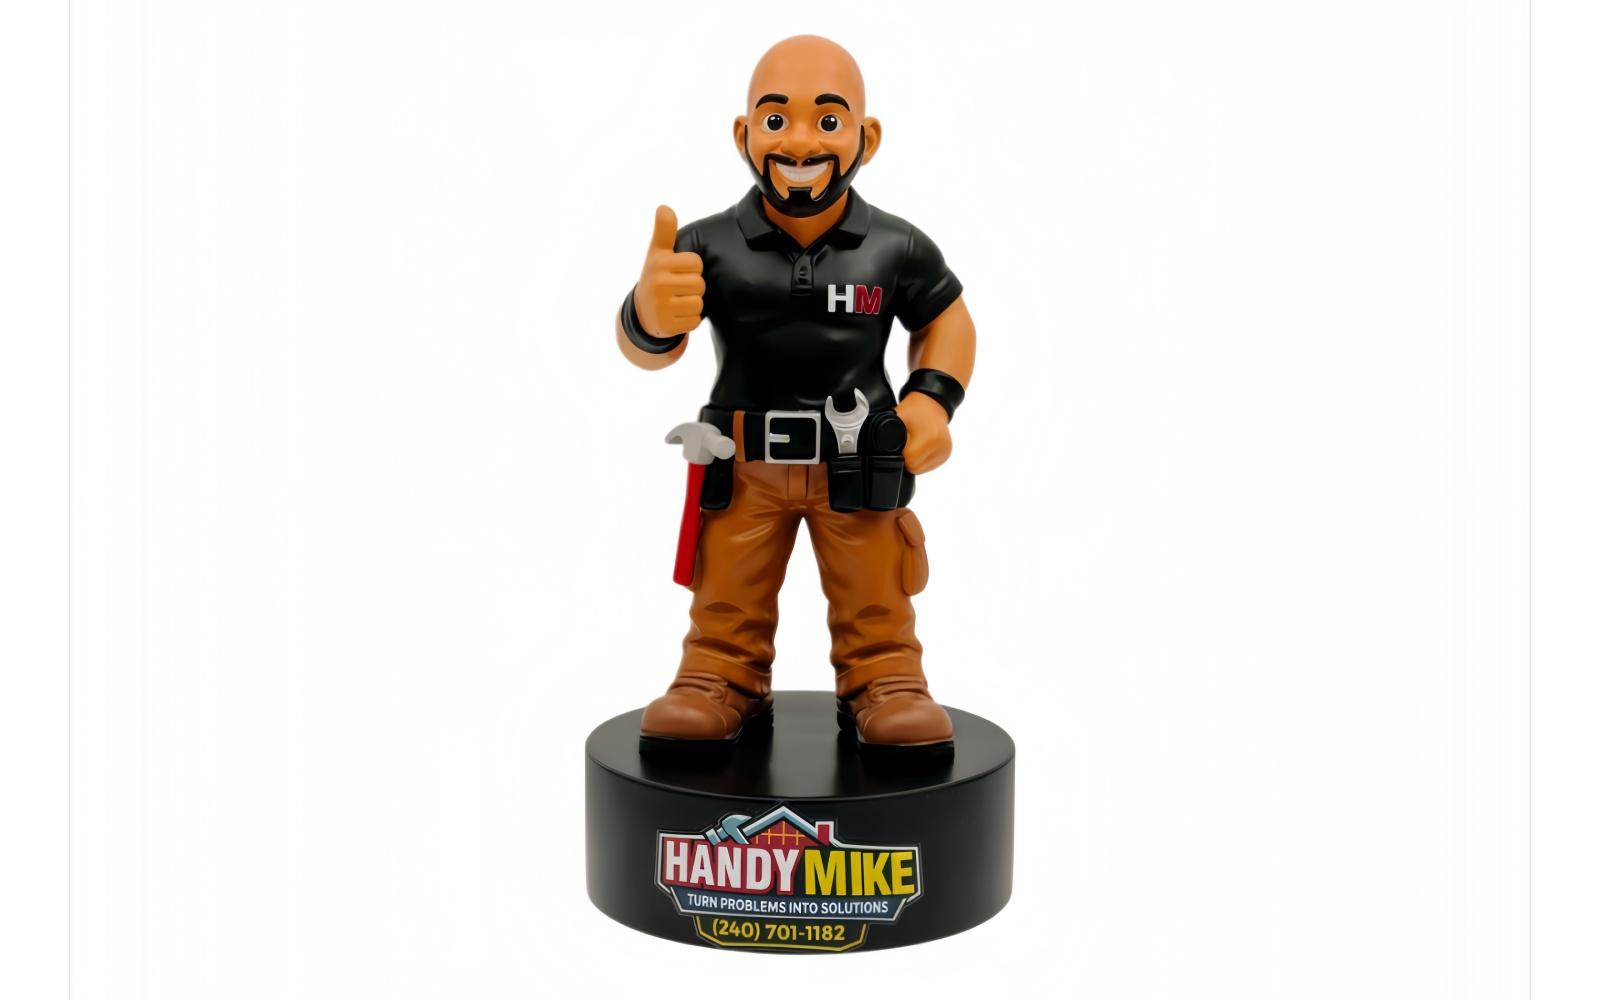
Below is a real sampling case:
Image 1: Client's design drawing Image 2: 3D modeling render Image 3: Physical sample photo
From design to physical product, we strictly follow the sampling process to ensure the final effect meets client expectations.
## Sampling Process Summary
Stage | Time | Adjustable Content 3D Sculpting | Day 3-7 | Shape + Color After 3D Printing | Day 8-15 | Color only
Key principle: The earlier you confirm, the lower the cost. Please finalize the shape during the 3D stage.
## Ready to Start Your Project?
If you have a character design and want to see it as a physical resin figurine, we'd love to help. Send us your concept art and we'll provide:
• Free quote within 24 hours • 12-15 day fast sampling • MOQ from 100 pieces
Contact us: [email protected] or add WhatsApp: +86-136-8269-2148
Haben Sie ein Projekt zu besprechen?
Wir antworten innerhalb von 12 Stunden mit einem kostenlosen 3D-Mockup und Angebot.
Angebot anfordern